Smartum Workflow
One of the client’s type that we succeed to work with is entrepreneurs who want to launch own project to test a hypothesis. Typically, it is called a startup 🙂 Another type is mature companies which are willing to try a new channel for interaction with clients.
Here at Smartum, we’ve been helping launching startups for a quite long time. At this point, it has been more than 5 years (or 50+ finished projects if you will): CRM, eLearning apps, VPN-related apps, apps for social networking, you name it.
All of those projects are really different, but most of them have one thing in common – the workflow that we were using for the development process. This workflow helps us to provide clients with top-notch products without sacrificing quality (while keeping release date predictable).
So today we would like to talk about our workflow. Maybe you would like to implement it in your project (or maybe you would like to ask us to build you an app – who knows?). Let’s begin!
Each client wants to build a perfect product that will attract a big user base and revenue (who would’ve thought?), but a way of how to achieve it is not so clear before the idea is actually tested on real users: a lot of features are poorly defined or they take too much time to implement.
This way, the project can easily turn into a huge money-sucking monster with the several-year development cycle.
And of course, each client wants to know the exact cost of the project, its timeline as well as to have a warranty for its release. For quickest and safest product’s launch we are using principles of Lean methodology.
The main idea here is to focus on MVP (minimum viable product). It allows us and client to define truly important features and launch the project ASAP.
While this workflow is more suitable for mobile apps development (where product cycle is shorter), it can also be used for web development.
- Our usual commitment is 3 months. Sure, it does not include big projects for banks or airlines 🙂 as it is a bit difficult to plan bigger scope without a dedicated team of business analysts.
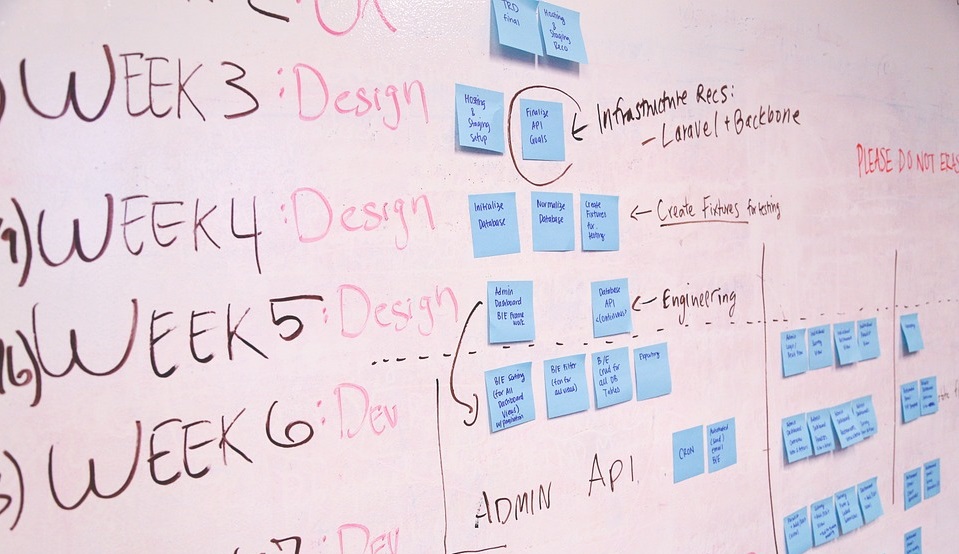
- We split the project into stages. Each stage is 3-month long. The first stage is what we call MVP, while the second stage is about scaling the project for bigger loads, code optimizing, adding new features.
- We provide new product version each 2 weeks (iteration). It allows customer to control the development process and provide continuous feedback for us.
Now let’s move to the details:
- Firstly we’ll take a look at documentation that we need for development to start
- Goals per each iteration of Stage 1, release procedure
- Our warranty
- Setting goals for Stage 2
Documents required to commence a project:
Client side:
Project vision. This document should briefly describe a project’s main idea and it’s main features. Optionally (but it surely helps a lot): simple wireframes (design draft).
Technical documentation: These documents can be provided by the client himself, but it will be better if our team takes care of them.
Design Prototype. We create design prototype so both client and development team had clear understanding of what product should look like. Interactive prototype allows us to visualize transition and interaction logic, location of elements on the screen. Also, it provides integrity check and helps to get a better understanding of the project’s specification. To create these prototypes we use Invision app which greatly simplifies the design stage of the project.
Product specification. Describes application’s core, its elements, interactions, as well as functionality/design requirements. The specification allows to sum up all the information about the product and it greatly helps during the development process.
The more detailed these documents are, the more effective and predictable development process will be.
Project documentation
When both client and team are done with the project’s requirements, we start preparing development roadmap that consists of:
Backlog (features prioritization). The team needs this document to get a better idea of what has to be done first. A backlog is basically a list of application’s features. The client has to prioritize them. First app release will include top priority features that can be developed within 3 months.
Iteration breakdown. This document is required so both sides (client and development team) could easily understand what has to be done during upcoming iteration. After its end client has to confirm that all of the planned work was done. Invoice payment has to be done within 5 days after iteration’s end.
Team allocation. The team has to confirm which of its members are going to work on the project during each stage. This document is required so the development process won’t stop while team members are working full-time on the project.
Otherwise (if the client stops the development process), we can’t guarantee that we will be able to resume development at any moment, because it’s most likely that team members will be transferred to other projects.
Iterations
First development stage is 3-month long and consists of 6 iterations:
- Creating static app screens, server configuration.
- Main flow
- Main flow stabilization. Development of other features (according to backlog priorities)
- Finishing all features. This is the last iteration when we’re adding new features.
- App stabilization, fixing known issues. Additional activities required for release (e-mail newsletter, adding analytics, etc.)
- Finishing app stabilization: optimizing app for different devices, performance improvement.
Iteration #1
Tasks and results:
- Create app/interface basic structure: creating static screens
- Server architecture: database/API design.
- API description document (for client-server interaction).
- Server configuration.
- 3rd-party services/apps integration planning
Why? At the very beginning we have to create a foundation for app’s main features. There won’t be any features at this point, because at this point there’s no back-end to work with. If we start developing features first, then the client won’t be able to get the first application build, since there won’t be anything to look at.
Iteration #2
Tasks and results:
- Finish all design-related tasks. Create most of app’s screens
- Mobile team has to familiarize with API provided by back-end team.
- Finish all API’s development
- Create static admin-panel screens
Why? During the app development process it’s crucial not to have any bottlenecking parts that can block the rest of the development process. That’s why it’s necessary to finish all blocker-features as soon as possible.
Iteration #3
Tasks and results:
- Nearly finished network architecture and API integration
- 3rd-party services implementation
- Finished backend business logic
- Implemented front-end business logic/API
- Main app flow has no critical bugs
Why? When there’s nothing to block project development, the team can start implementing most of the app’s main logic. At this stage there’s no point in quality assurance – new bugs might appear while we’re adding new features.
Iteration #4
Tasks and results:
- Ready-to-test app’s functionality
- Finished front-end business logic
- Testing/optimizing back-end API
- Known issues list
- (!) Client has to confirm that all required features (logic) are in place
Why? Major logic changes will nullify testing results and will cause the whole app’s features regression. The team will start proper app stabilization process only when the client confirms that all features are in place. It’s vital for proper quality assurance that all application’s features were in place, so the QA team can reproduce all possible user scenarios.
Iteration #5
Tasks and results:
- App stabilization – team fixes all known issues provided by QA-team and client
- In the end of this iteration client provides the final list of acceptance criteria which an application must comply with for the upcoming publication.
- Stable application without any critical bugs
- Design check for compliance with the requirements. Design issues list.
Why? Usually the team has to complete some additional tasks which were not initially planned. For example:
- Integrating e-mailing services
- Adding analytics
- Creating landing pages, etc.
Iteration #6
Tasks and results:
- Team fixes all client- and front-end-based issues according to acceptance sheet
- Compare current app’s design with the initial prototype and fix all mismatches so the app looks exactly the same as the design prototype.
- Prepare for launch and testing on various devices
- Prepare for possible beta-test
In case if your project is meant for Apple’s iOS, we strongly recommend sending the app for the App Store moderation process at this point, because the process can take up to several weeks.
Release (Beta launch)
When the development is complete we send the app for App Store/Google Play review (if it’s a mobile app). Keep in mind that time required for application approval may vary. It can take several hours (Google Play) to several weeks (App Store).
It’s also possible to start a beta-test prior to app’s launch if you want to test your app with a small number of users. Depending on goals that you want to achieve, we can use various beta-test platforms – Crashlytics, Testflight, Diawi, etc.
Warranty
When all iterations are complete, the Smartum team provides its clients with a 2-week-long warranty. During this period we fix all discovered critical and major bugs for free.
Stage 2
At this stage, the development team can focus on improving the app by adding new features. But the most important thing that can be done during this period is collecting user feedback. The feedback itself is the greatest source of information on how the app can be improved (What should be added? Which features are useless?)
P.S.
In the end, we would like to mention the most common product development mistakes that are really easy to avoid:
- Launching the product development without a clear understanding of what the project should be. With such an approach, it’s quite easy to spend the whole budget during the initial stage of development by changing design options/application concept/etc.
- Adding new features after the development start. It’s impossible to add new features without sacrificing budget/terms or quality of the project. Even if budget is not an issue, keep in mind that by postponing the product’s release date you’re giving your competitors an opportunity to outrun you.
- Focusing too much on design. With a standard approach, it usually takes 1.5-2 iterations (3-4 weeks) to finish the application’s design. This is more than enough to create a good-looking design that follows all modern guidelines. Complex custom design elements/animations that hardly affects app’s functionality should be implemented at the post-release stage of the project.